In this entry, I use the techniques that I've learnt from class. Although it's just a simple game, I hope you enjoy it^^!!
U can click on any button to star the game and replay it again
Wednesday, July 30, 2008
Canon And Follow Through_Class Exercises
These are my flashes exercises that I've done in class.
It's really interested when using flash to create animation liked this. These exercises can be similar to the frame by frame creating animation methods. I have fun to do something like that.
I've fix my problem. Thank for your useful comment.
After
Labels:
Flash
Wednesday, July 23, 2008
My Tracing Shinno Suke
I enjoy in watching cartoon and commic books espcially the 2D animation. This boy here who is namely Shinno Suke is one of my favourite comic book's character. I've found that illustrator is really a great tool to illustrate my Shin. Furthermore, I also combine 2 of useful softwares which are illutrator and photoshop to make for him a wallpaper. Enjoy it ^o^
***BONUS***
This is another wallpaper with different color background.
Labels:
Illustrator,
Photoshop Skills
Monday, July 21, 2008
Type Creature_Butterfly Story
I made this butterfly by the last semsemter from dim 1 for the type creature's entry.Although this entry just required me only one animal, I did an extra one that is the worm. For the reason, I thinks that it is really amazingthing when something can be created by typography.Furthermore, I try to make it similar to a butterfly life's story. Hope you enjoy these!!
Labels:
Illustrator
Wednesday, July 16, 2008
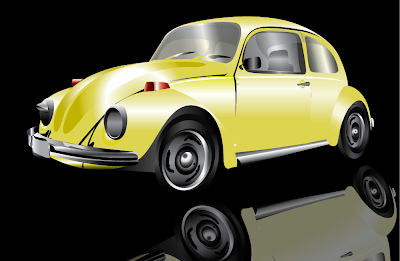
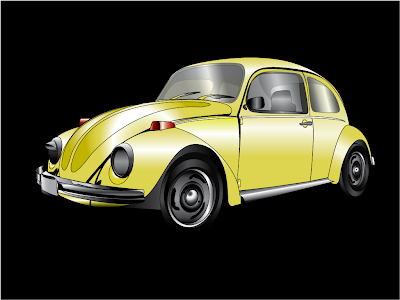
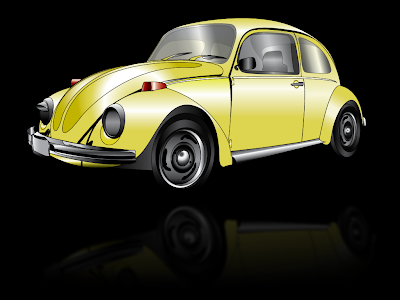
Tracing Yellow Car
The first one, I remove the outline curves.
And the second one, I keep the original curves.
This is my first experience in tracing skill. So color can be not exactly.
...+''++''+......+''++''+......+''++''+......+''++''+......+''++''+...
Thank for your comment, Liping. I've change it. Now I think it looks much better.
Labels:
Illustrator
Tuesday, July 15, 2008
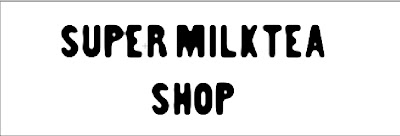
Super Milktea Shop's Neon Sign
I've read a new book of photoshop. Some of this book's techniques quite mean to me. So, in this entry, i'm going totell you how to create a neon sign. I've change some step from this book's instruction to make it easier. let's start
Firstly, type your own letters and make sure that your background is white. Then, you use gaussian blur's filter to make your letter a litlle smooth.
Secondly, Choose Image -> Adjustment -> Levels (ctrl+L) to make letters liked this picture below.
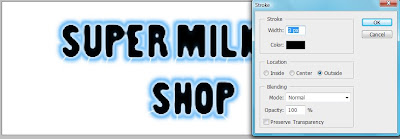
Thirdly, hold ctrl key+click on the letters' layer to load this selection and then create new layer. After that, choose Edit -> Stroke as this picture below.
Finally, hide the letters' layer. It's done!!
Firstly, type your own letters and make sure that your background is white. Then, you use gaussian blur's filter to make your letter a litlle smooth.
Secondly, Choose Image -> Adjustment -> Levels (ctrl+L) to make letters liked this picture below.
Thirdly, hold ctrl key+click on the letters' layer to load this selection and then create new layer. After that, choose Edit -> Stroke as this picture below.
Labels:
Photoshop Skills
Monday, July 14, 2008
Amazing Brushes
I'm really interested in the appliances of brushes. Therefore in this entry, I'm going to use brushes as pen tools.Many people think that photoshop is not a good software to illustrate liked Adobe Illustrator. So I try to make itmore lively with the combination of different kinds of brushes. I also provide the brushes' website which is all FREE and HD brushes. Enjoy it ^^!
Labels:
Photoshop Skills
Wednesday, July 9, 2008
Created a riple effect.
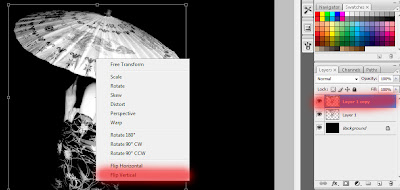
In this enrty, I'm going to show how to make a riple with a reflected shadow. Firstly, you copy and paste the object to a new layer. Then, duplicate this layers(trl+J) with a little changingthe opacity. After that, right click on the duplicated object -> flip vertical.
Second, on the duplicated layer, you can draw a ellip by using elliptical Marquee Tool(M)(don't forgetto refine selection edge to make it smoother). Then, chooseFilter-> Distort-> Twirl( you can choose your own suitable figures to make it more lively). After that, chooseFilter-> Distort-> ZigZag.
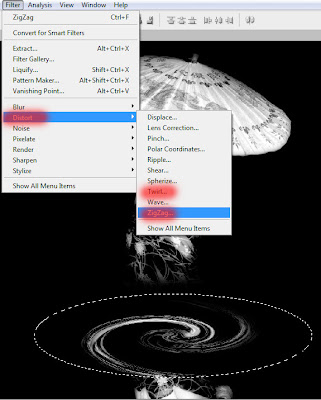
It's done. Let's try to see how easy it is.
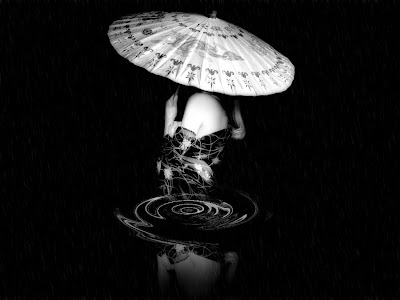
After
Before
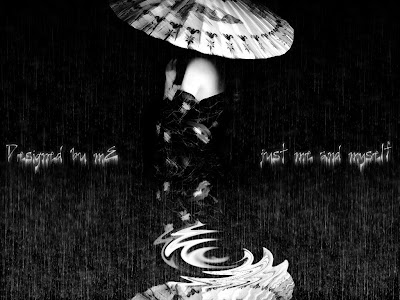
This is another one, I combine two designed programs which are Adobe Photoshop and Corel Photopaint. The ripple distortedeeffect and the girl's reflected shadow were made by Photoshop. Although Corel Photopaint is not really a functionaltool as Photoshop, I thinks it still has several aspects which are almost suitable for the beginner in design. So, the raining environment is created by Corel Photopaint.
Labels:
Photoshop Skills
Sunday, July 6, 2008
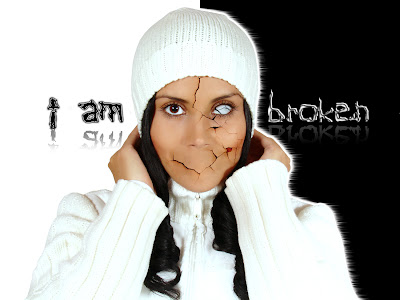
I'm broken
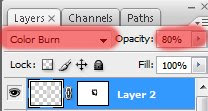
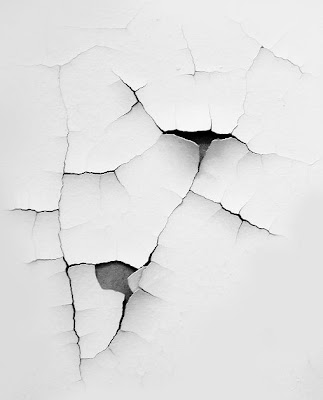
I have found a interested methods on the Internet which uses the special effect to create broken illusion. Firstly,you copy and paste the effected image to your object. Then you can use the burn image or the other option to makethis look more lively. Do not forget to change your opacity. It's done. Let's try.
In this entry, I apply the use of clone stamp tool and spot healing brush tool to erase her mouth with thecombinated uses of smooth tool. So, it really look better than my imagination.
Here are these effected images.
In this entry, I apply the use of clone stamp tool and spot healing brush tool to erase her mouth with thecombinated uses of smooth tool. So, it really look better than my imagination.
Here are these effected images.
Labels:
Photoshop Skills
The Moon and the Girl
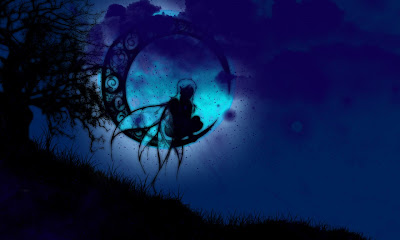
This is my combination of 2 different images from ICG photo's folder. I am really interested in the level's controlfrom the image adjustment tool which allow me to change the brightness and midtone of the background image from dark to light areas. Futhermore, by the uses of the others tools such as brightness and contrast. Hence, I cancreate a new image which is almost similar night scence compared to daytime from the original image.
With the uses of overlay effect for the moon and a soft shadow behind, I think that it can be a good method to makethe moon more romantic ^^. I hope you are enjoy with my work here.
Labels:
Photoshop Skills
Subscribe to:
Posts (Atom)